
Installation Guide – LEDw@re Magnet Rail System
Magnet Rail — Designed for effortless connection
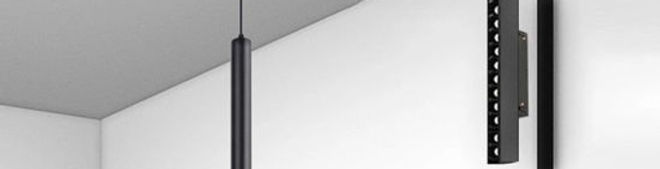
Our 48V Magnet Rail system makes installation fast, flexible, and elegant.Every detail is engineered for precision, safety, and visual harmony — no visible screws, no tools for light placement, and full compatibility with GYO, CURVE, and FLEX ART luminaires.

1. Preparation
Ensure the ceiling or wall surface is level and solid (plasterboard, concrete, or wood).
Plan your rail layout — straight, L-shape, or curved sections.
Check the total power load and select the correct 48V driver or power supply.
2. Mounting the Rail
Mark the rail positions using the supplied alignment template or laser.
Fix the mounting clips or aluminum profile base to the surface with screws or anchors.
Snap the Magnet Rail section firmly into place — a click confirms correct alignment.
For recessed installation, insert the profile before finishing the ceiling for a flush appearance.
3. Power Connection
Connect the power input to the 48V DC driver (or DALI / Zigbee control if applicable).
For longer runs, use feed connectors between sections to maintain voltage stability.
Hide the power supply in a ceiling box, cabinet, or technical space.
4. Installing the Magnetic Fixtures
Simply attach your LED spots, pendants, or linear lights anywhere along the rail.
The built-in magnet and copper contact pins automatically lock and power the light.
Rotate or move each fixture freely to adjust the light direction — no tools needed.
5. Control Options
Compatible with DALI, Zigbee, Bluetooth, and RF dimming systems.
Create independent lighting zones, color temperature control, or smart scenes with your preferred app.
6. Optional Accessories
Corners, power feeds, and suspension kits for creative layouts.
Hidden or decorative covers in champagne, bronze, black, or white finishes.
Custom curved sections available on request.
Smart. Modular. Magnetic.The Magnet Rail system redefines lighting flexibility — one track, endless possibilities.